こんにちは。きんくまです。
今回はアプリの他言語対応についてです。
作ったものはこんな感じに2画面を遷移するもの。
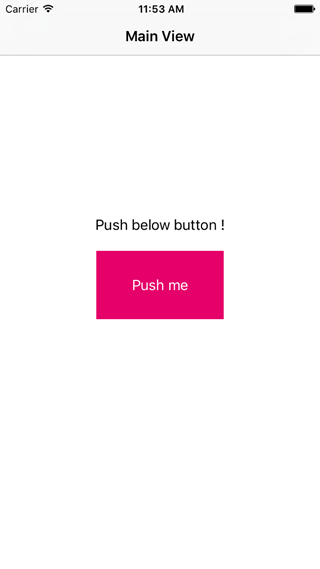
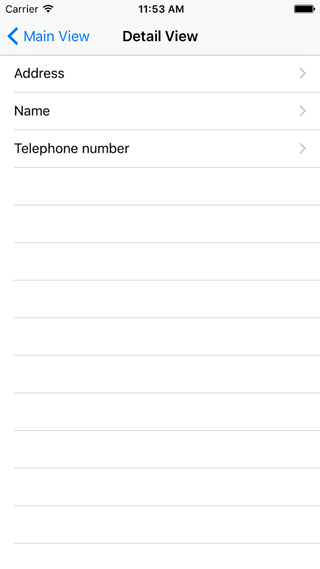
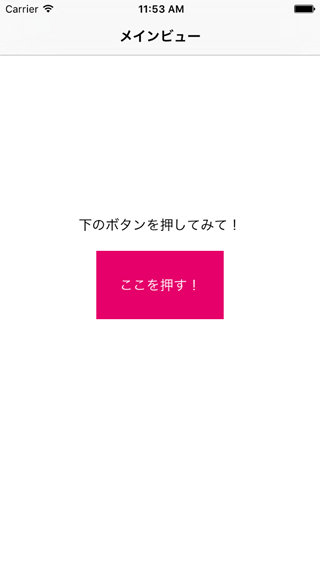
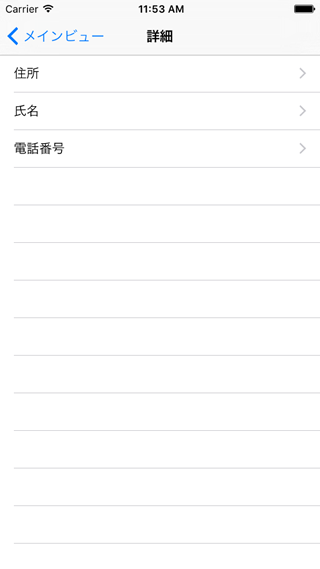
これを下の画面のように日本語対応したいです。
Storyboardを分割するならstringsファイルも分割してみる
Storyboardはそれぞれの画面ごとに分割した方が管理しやすいです。それで、そこにいれる文字列も1つの言語ファイル(.stringsファイル)に入れて管理するのではなく、複数の.stringsファイルに分けた方が管理しやすいのではないかと思いました。
それで、今回2つの画面があるので2つのstoryboardを作りました。
MainView.storybaord
DetailView.storyboard
なので、2つのstringsファイルを作りました。
MainView.strings
DetailView.strings
複数のstringsファイルを使い分けるのはNSLocalizedStringにtableName: を入れてあげれば大丈夫です。
self.title = NSLocalizedString("MainTitle", tableName: "MainView", comment: "")
MainView.strings (Base)
"MainTitle" = "Main View";
"ButtonExplainText" = "Push below button !";
"PushButtonText" = "Push me";
MainView.strings (Japanese)
"MainTitle" = "メインビュー";
"ButtonExplainText" = "下のボタンを押してみて!";
"PushButtonText" = "ここを押す!";
CancelとかOKとか複数の画面で共通で使いそうな文言は、common.strings という感じに適当な名前のファイルを作って、そこに入れておけばよいのではないかと思いました。
UILabelとかUITableViewCellのサブクラスを作ってInterface builder上でテキストを設定する
Storyboardの文言を言語対応するのにはいくつか方法があります。
1) storyboardを言語ごとに作る
2) プログラムで文字を設定する
それで1の方法は、レイアウトを変えるごとに複数言語対応するのは手間になっているのでなるべく避けたいです。
で、調べてみたら、便利そうな方法があったのでご紹介。
>> iOS localization tricks for Storyboard and NIB files | Xebia Blog
UILabelやUIButtonのサブクラスを作って、IB上のUser Defined Runtime Attributeにstringsファイルの文字列をいれるというものです。
これが便利そうだったので、上のページのコメント欄にあった@IBInspectableを使った方法を試してみました。
サブクラスを作ります。
localizedTextというプロパティに「(stringsファイル名).(ピリオド)文言名」で区切った文字列を渡すと、
文字列を設定するクラスです。
LocalizedLabel.swift
import UIKit

@IBDesignable class LocalizedLabel: UILabel {
    @IBInspectable var localizedText:String {
        set(key){
            let textComps:[String] = key.componentsSeparatedByString(".")
            self.text = NSLocalizedString(textComps[1], tableName: textComps[0], comment: "")
        }
        get{
            return text!
        }
    }
}
IB上でラベルのクラスに設定します
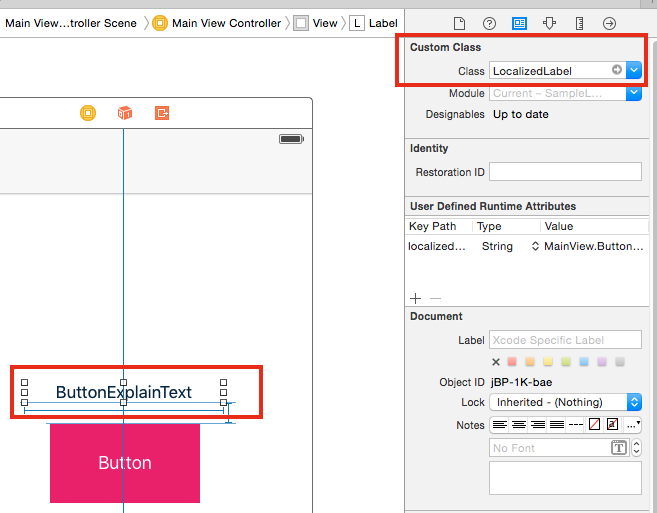
するとプロパティにlocalizedTextが増設されるので、そこに文字列をいれます。

すると実行時に文字列がきりかわります。IB上ではプロパティ名がそのまま表示されます。
この方法のメリットは、1度サブクラスを作ってあげれば、毎回コードを書かなくてもIB上のプロパティで設定できるところです。ツールアプリを作っていて結構面倒なのが設定画面です。大量のラベルがあり、それをクラスにOutletのweak varでひっぱってきて1つずつコードを書いてあげるのはすごく手間だと思います。それが、プロパティだけで設定できるので楽かなと。
今回ボタンは拡張せずにそのまま書いてコードでやっていますが、ボタンも同様にできる思います。
MainViewController.swift
class MainViewController: UIViewController {
    @IBOutlet weak var pushButton: UIButton!

    override func viewDidLoad() {
        super.viewDidLoad()

        self.title = NSLocalizedString("MainTitle", tableName: "MainView", comment: "")

        let buttonLabelText:String = NSLocalizedString("PushButtonText", tableName: "MainView", comment: "")

        self.pushButton.setBackgroundImage(getColorImageTile(UIColor.redColor()), forState: UIControlState.Highlighted)
        self.pushButton.setTitle(buttonLabelText, forState: UIControlState.Normal)
    }

    private func getColorImageTile(color:UIColor)->UIImage{
        let rect:CGRect = CGRectMake(0.0, 0.0, 1.0, 1.0);
        UIGraphicsBeginImageContext(rect.size);
        let context:CGContextRef = UIGraphicsGetCurrentContext()!;

        CGContextSetFillColorWithColor(context, color.CGColor);
        CGContextFillRect(context, rect);

        let image:UIImage = UIGraphicsGetImageFromCurrentImageContext();
        UIGraphicsEndImageContext();

        return image;
    }

    @IBAction func buttonTapped(sender: AnyObject) {
        let detailStoryboard:UIStoryboard = UIStoryboard(name: "DetailView", bundle: nil)
        if let detailController:DetailViewController = detailStoryboard.instantiateInitialViewController() as? DetailViewController {
            self.navigationController?.pushViewController(detailController, animated: true)
        }
    }
}
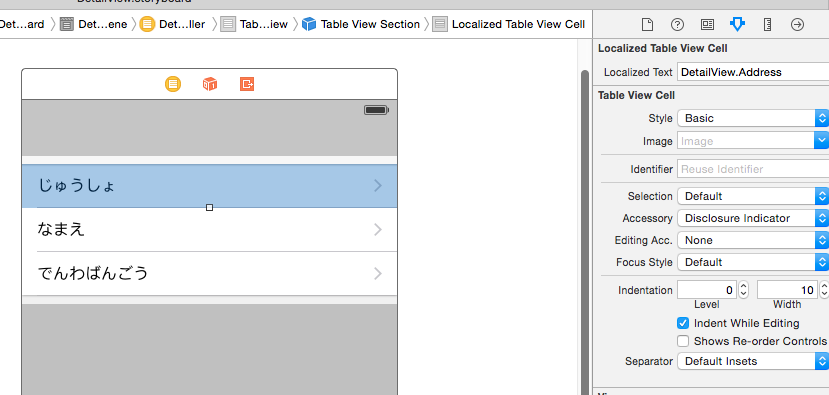
詳細画面の方は、UITableViewCellを継承してみました。
LocalizedTableViewCell.swift
import UIKit

@IBDesignable class LocalizedTableViewCell: UITableViewCell {
    @IBInspectable var localizedText:String {
        set(key){
            let textComps:[String] = key.componentsSeparatedByString(".")
            self.textLabel?.text = NSLocalizedString(textComps[1], tableName: textComps[0], comment: "")
        }
        get{
            return (textLabel?.text)!
        }
    }
}
ただ、Viewで1階層深いものはIB上でラベルがきりかわらなかったのでダミーで文言を設定しました。
今回作ったプロジェクトファイル一式です。
便利Tips
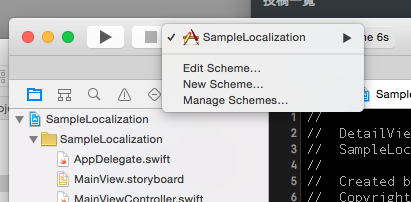
調べていて便利な機能があったのでご紹介。Xcode上から簡単にその言語で立ち上げられるようになってました。
毎回シミュレーターの言語設定してましたよ、、。
>> iOS – Xcode6で言語設定の切り替えが簡単になった – Qiita
Edit Schemeを選択して
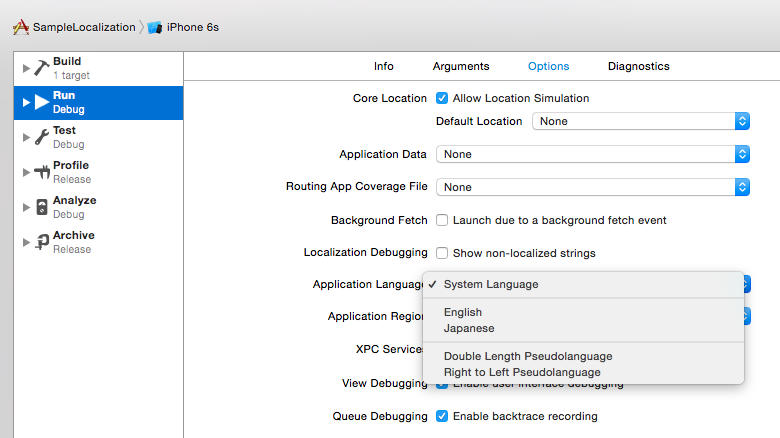
Application languageを切り替える
■ 自作iPhoneアプリ 好評発売中!
・フォルメモ - シンプルなフォルダつきメモ帳
・ジッピー電卓 - 消費税や割引もサクサク計算!
■ LINEスタンプ作りました!
![]() 毎日使える。とぼけたウサギ
毎日使える。とぼけたウサギ